

INSTALLATION GUIDE
INSTALLING STONE CLADDING
Installing natural or manufactured stone cladding onto a brick or block substrate requires careful preparation and precise application techniques to ensure a durable, weather-resistant finish. Brick and concrete block walls provide an excellent structural base for cladding because of their rigid and porous nature.
Essential Tools and Materials
-
Stone cladding panels and dedicated corner pieces
-
High-quality polymer-modified stone adhesive or standard mortar mix (depending on stone type)
-
Notched trowel and pointing trowel
-
Spirit level
-
Angle grinder with a diamond blade (or wet saw)
-
Stiff bristle brush and damp sponge
-
Safety equipment (goggles, gloves, dust mask)
Step 1: Surface Preparation
The longevity of your cladding depends entirely on a strong bond to the substrate.
-
Ensure the brick or block wall is structurally sound, clean, and free of dust, grease, efflorescence, or loose debris.
-
If the concrete blocks or bricks are extremely dry or porous, lightly dampen the surface with a wet brush to prevent the wall from drawing moisture out of the adhesive too quickly.
-
Bare, clean brick or block is generally ready for direct application, but previously painted walls may require a metal lath and a scratch coat.
Step 2: Mixing the Adhesive
Follow the manufacturer's instructions for your specific stone adhesive or mortar. Mix the adhesive to a thick, creamy consistency so that it holds its shape on the trowel without sagging or running. Only mix as much adhesive as you can comfortably apply within its open time (typically 30 to 45 minutes).
Step 3: Setting the Corners
Always begin your installation by establishing the external corners before filling in the flat wall sections.
-
Apply a generous layer of adhesive to the back of the stone piece (back-buttering) to ensure absolute coverage.
-
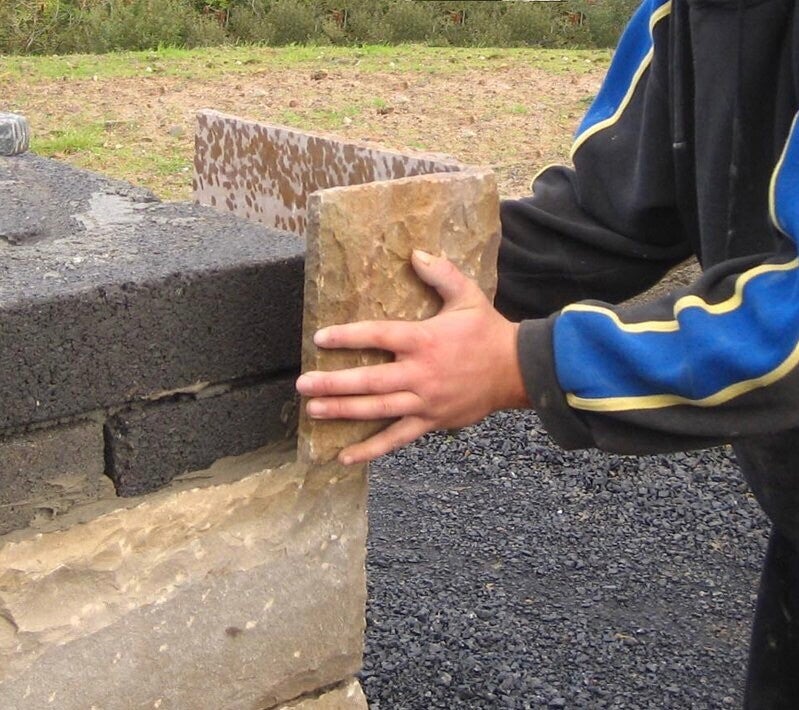
As demonstrated in IMG_3131.jpeg, firmly press the corner piece against the block wall.
-
Use both hands to position the L-shaped corner piece tightly against the intersecting faces of the blockwork.
-
Alternate the long and short returns of the corner pieces as you build upward to avoid a continuous vertical seam, creating a more structurally sound and natural appearance.
Step 4: Laying the Flat Panels
Once the bottom corner piece is set, begin laying the flat panels outward along the base of the wall.
-
Work from the bottom upwards. Ensure the first course is perfectly level using your spirit level, as this dictates the alignment of the entire wall.
-
Apply adhesive directly to the wall using the notched trowel, and back-butter each flat stone panel before pressing it into place.
-
Wiggle the stone slightly side-to-side as you push it into the wall to collapse the adhesive ridges and push out trapped air pockets.
-
Keep joints tight if you are aiming for a dry-stack aesthetic, or use spacers if you intend to point the joints with mortar later.
-
Use your grinder or wet saw to cut pieces down to size when you reach edges, windows, or doors.
Step 5: Finishing and Cleaning
Clean any wet adhesive or mortar from the face of the stone immediately using a damp sponge as you work. If adhesive dries on the rough face of the stone, it can be extremely difficult to remove without damaging the finish. If your design requires pointing, wait until the adhesive has fully cured (usually 24 hours) before filling the joints with a specialized pointing mortar using a piping bag or pointing trowel.
Properly installed stone cladding transforms the aesthetic of a standard block wall while offering long-lasting durability against the elements. If you are working on a particularly high wall or an exposed exterior location, it is always worth verifying if mechanical fixings are required in addition to the adhesive to meet local building regulations. Let me know if you need advice on selecting the right adhesive or estimating your material quantities for the project.
INSTALLING SWISS PEARL FIBRE CEMENT BOARDS
Ensure the wall is covered with a breathable weather-resistant barrier and that all window and door flashings are correctly installed. Snap a level chalk line around the base of the building, usually 1 inch below the bottom plate. Nail a 1.25-inch wide starter strip (often a ripped piece of fibre cement) along the chalk line.
Verification: Place a long spirit level along the installed starter strip to confirm it is perfectly horizontal before proceeding.
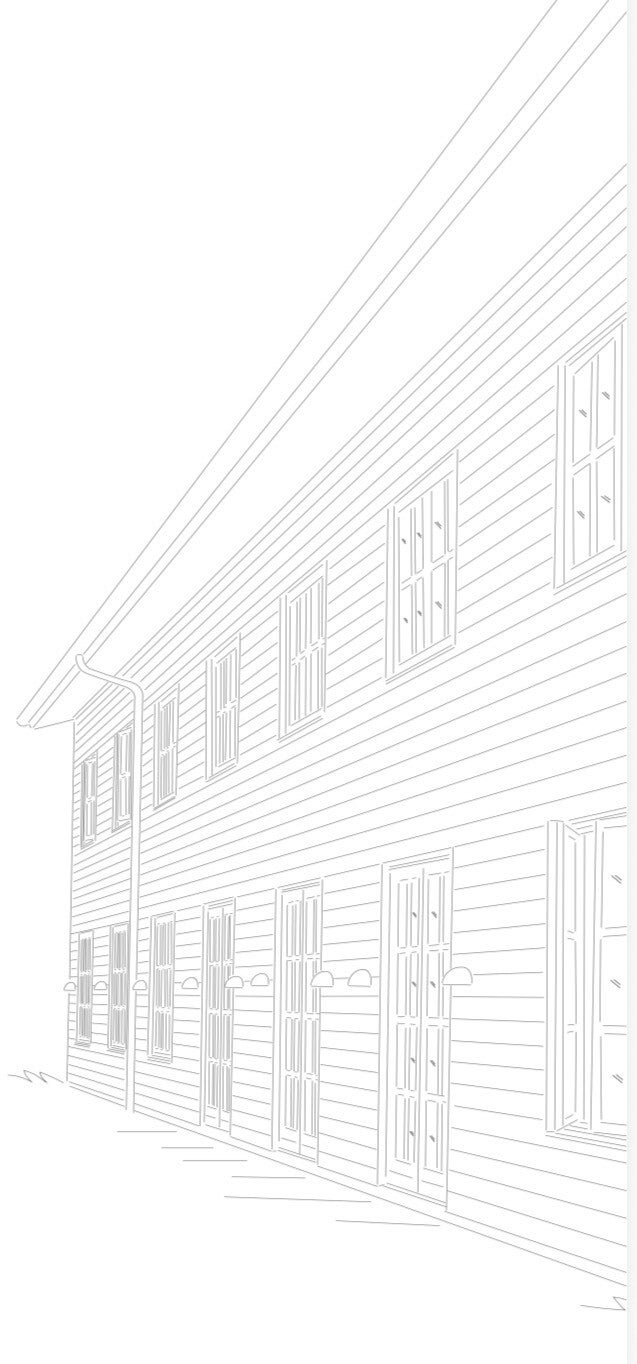
Position the first full horizontal siding board as shown in "image.png" so its bottom edge rests perfectly flush with the bottom of the starter strip. Leave a minimum 6-inch clearance between the bottom of the board and the finished ground grade. Fasten the board into the wall studs using corrosion-resistant roofing nails (blind nailing at the top edge is preferred so the next board hides the nail heads). Verification: Measure the distance from the ground to the bottom edge in multiple spots to ensure the 6-inch clearance is maintained and check the top edge with a level.
Snap a chalk line or use a siding gauge tool to establish the overlap for the next row. Fibre cement lap siding typically requires a minimum overlap of 1.25 inches. Place the next board along the guide line, ensure it hits the structural studs, and blind nail it through the top edge every 16 or 24 inches depending on your stud spacing. Continue this process up the wall.
Verification: Use a tape measure to check the exposed face (the "reveal") of the board; it should be identical at the left, center, and right sides of the board.
Whenever two boards meet end-to-end (a butt joint), ensure the joint lands exactly in the center of a wall stud. Install a piece of flashing tape behind every butt joint to protect the framing from water intrusion. Leave a 1/8-inch gap where the siding meets window trims, doors, and corner boards to allow for expansion and caulking.
Verification: Inspect the butt joints; you should clearly see the protective flashing tape behind the joint, and the ends should sit flat without bowing outward.
Once all the siding is installed, use a high-quality exterior-grade elastomeric sealant to fill all the 1/8-inch gaps around windows, doors, and trim. Do not caulk the horizontal overlaps or the butt joints between the siding boards themselves. Paint the siding within 90 days if it is not factory pre-painted.
Verification: Visually inspect the caulked areas to ensure the bead is smooth, continuous, and fully seals the gap against the trim without gaps or bubbles.